Brita water filters, just like others, may get dirty at times. This is why it is always a better idea to clean the filter regularly to avoid having any contaminants in your water.
However, your cleaning process will only be effective if you do it properly. There are a few do’s and don’ts that one needs to keep in mind while cleaning their Brita water filter. In this article, we will be enlightening you on the same.
How to Clean Brita Water Filter (Steps)
There’s not much that you have to do while cleaning your Brita filter. It is just as simple as cleaning any other utensil.
Let’s first take a look at all the things that you will need for the process.
Things You Will Need
- Water
- Sponge
- White vinegar
- Measuring cup
- A dish napkin or a drying stand
- New filter
Now without any further ado, let’s learn how to clean a Brita water filter:
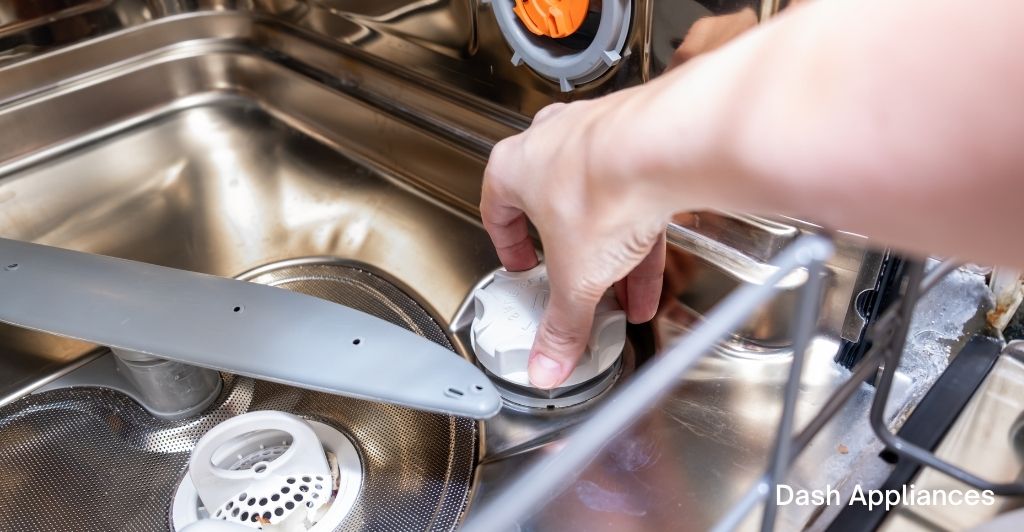
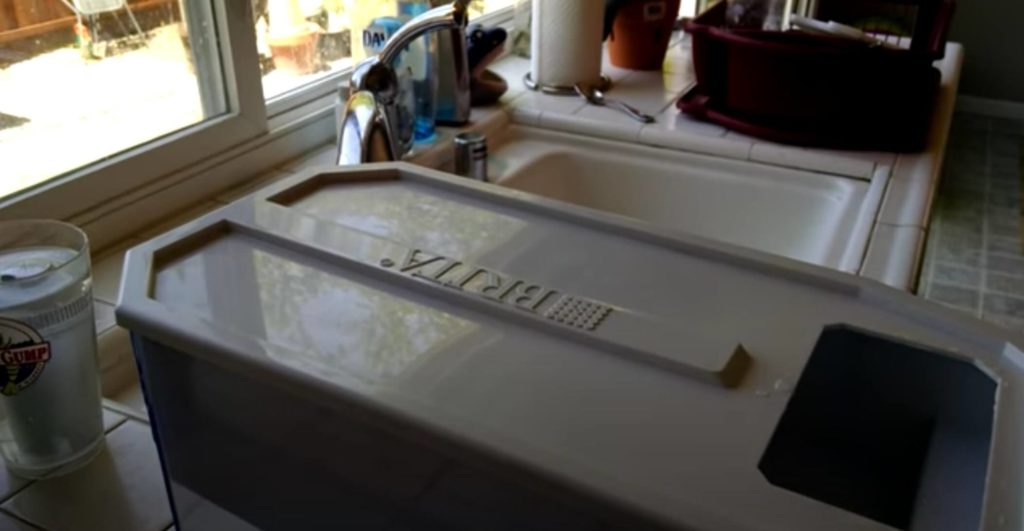
1. Disassembling the Brita Pitcher
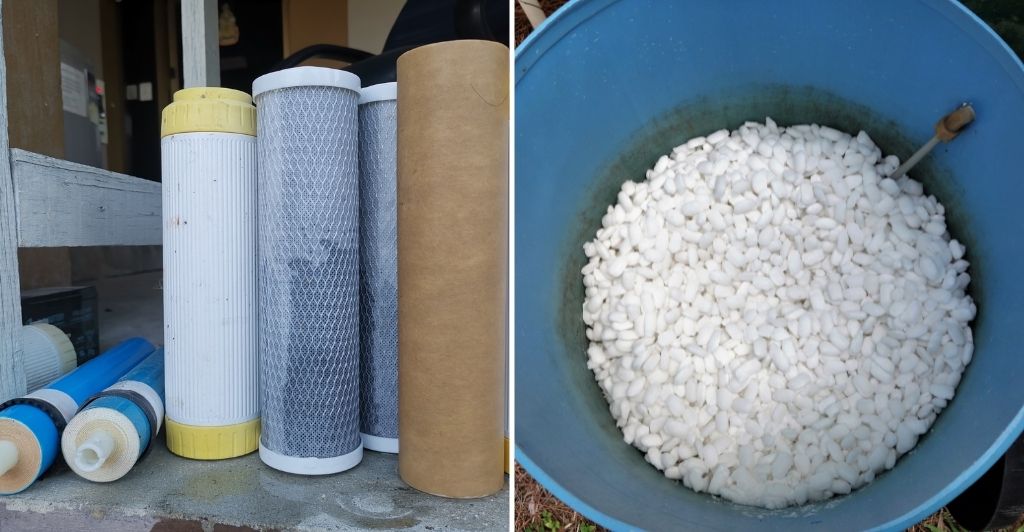
Start by pouring out the remaining water that is present in the filter and then go on to disassemble it. You will need to segregate a special tank inside the water filter. In case you have never replaced the screen earlier, you will need to do so.
A good hygienic option would be to discard the filter now and then as the water filter may get accumulated with various kinds of bacteria as well as many other hazardous particles if you keep your screen. All that you need to do is wash it with some lukewarm water and keep it in a neat area so that it does not get in contact with any dirt and stays clean.
If you wish to clean the filter thoroughly, it may get a little complicated to disassemble the Brita water filter. Keep in mind that the bottom is very important to be filled with water. This will make sure that the filter’s base stays heavy. Put it in an inverted position. The liquid’s weight must be popping the fixed plastic up.
Note: It is worth mentioning that the kind of your filter will have a great role in determining the ease of disassembling the Brita water filter. For instance, A zero pitcher which is one of the most popular choices is a great one as it is extremely easy to clean.
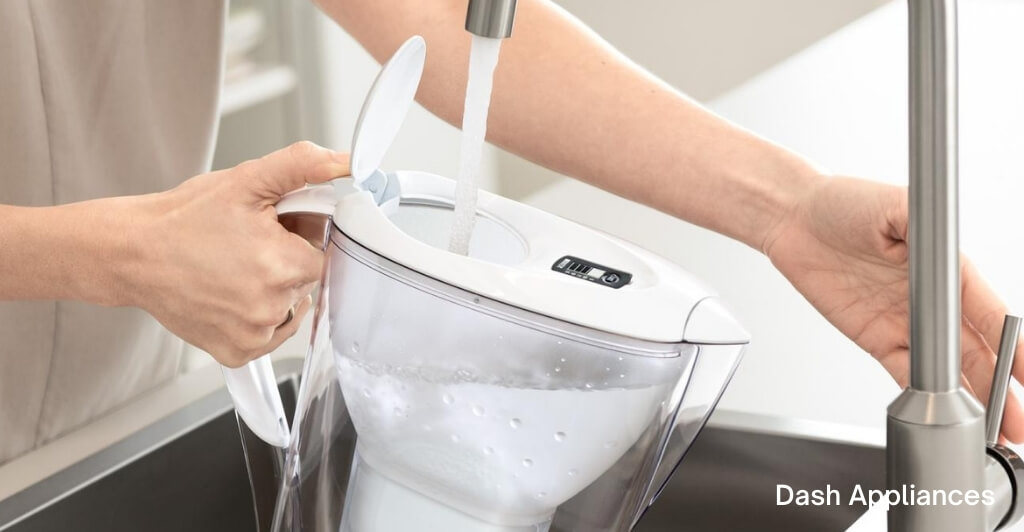
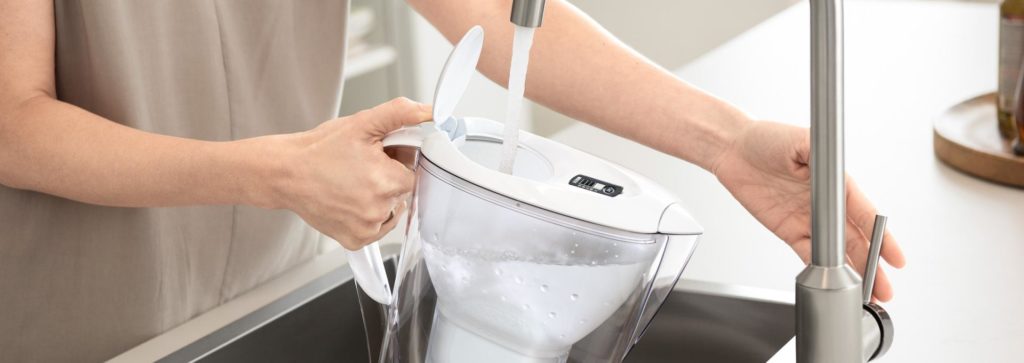
2. Washing
Now, you will need to settle your water pitcher indifferently to wash it. Get some lukewarm water and add in a little dish soap. Now allow the lid as well as the reservoir to remain soaked for around 30-60 minutes.
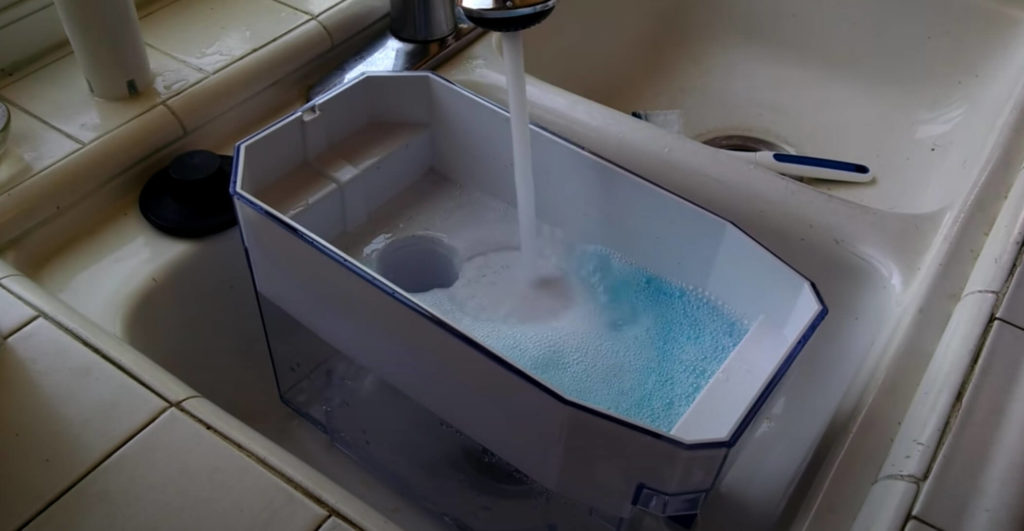
Once you have done that, start scrubbing every single piece till the time they don’t look perfectly clean or you listen to the squeak.
Note: You may also choose to rinse your reservoir using warm water mixed with any mild detergent available in your house. Once you have washed it properly, gently dry it using a smooth napkin.
3. Scratching the Mildew
After you are done cleaning all the individual parts, it may be nearly difficult for you to feel any mildew afterward particularly if you have conducted the cleaning process thoroughly and carefully.
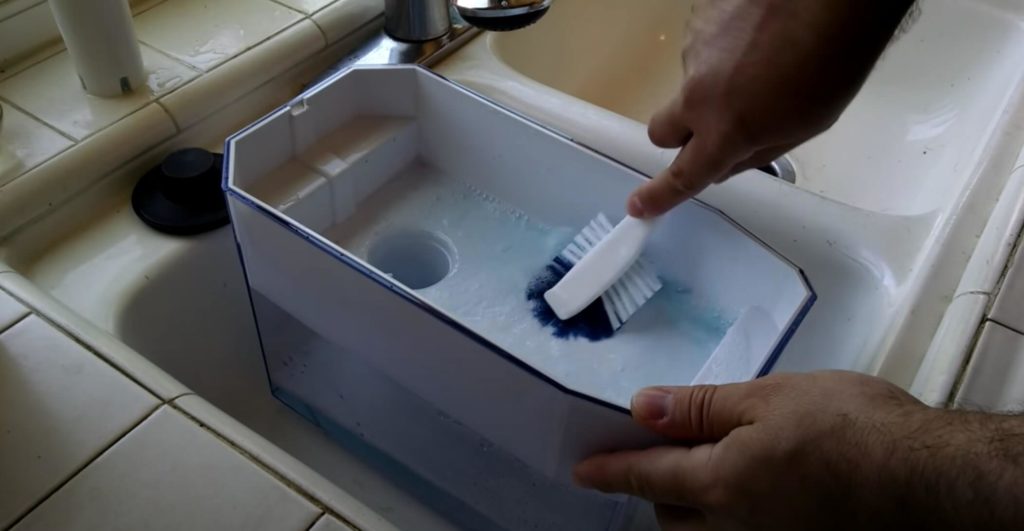
However, if you have doubts about any remaining mold, you can try mixing a teaspoon of white vinegar in almost a cup of water. Put all the parts inside this solution that you made and then properly scrub it.
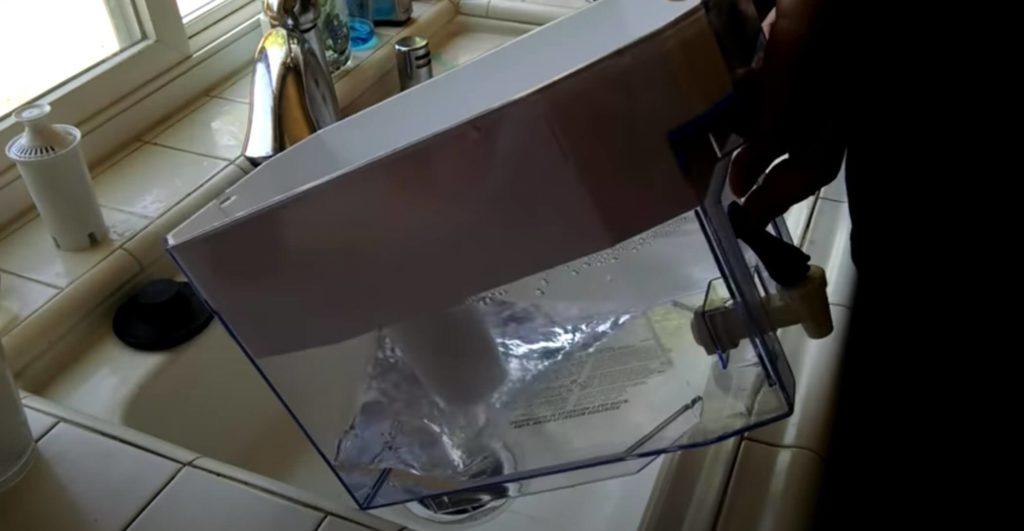
4. Rinsing & Drying
Once you are sure that there is no mildew present, and the squeak can be heard, you can go on to wash both the lid as well as the reservoir simply by putting them in warm water separately. After that, allow both of them to dry.
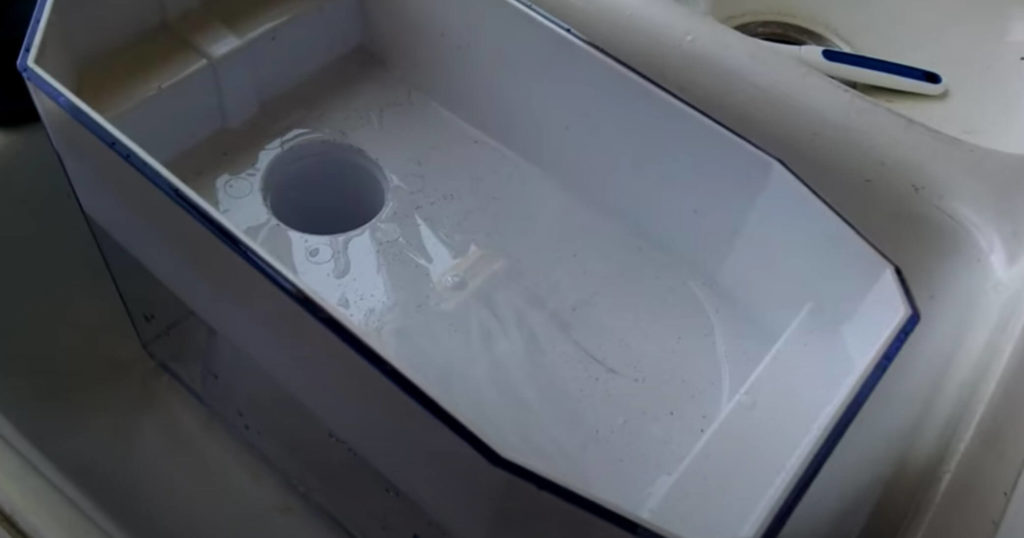
Remember that you will need to let all the parts dry thoroughly before assembling them back again. This will ensure that no mildew grows inside your Brita Water Pitcher.
We recommend that you let them dry properly on a drying stand. However, if you do not have one, you can simply let them air dry and then use a soft napkin.
5. Preparing a Freshwater Filter
While the water pitcher is drying, you can use this time to prepare a fresh screen. You probably won’t be required to keep the filter soaked before rinsing it depending on the specific Brita brand. The majority of the latest Brita water filter versions don’t need to be soaked before rinsing them unlike some of the previous versions.
Hence, before you go on to wash it, make sure that you take a quick look at the instructions provided by the manufacturers of the specific brand of your water filter by Brita.
6. Reassembling the Brita Pitcher
Once your water pitcher has dried properly and you’re ready with the new screen, you can go on to putting the water pitcher back in its place. Pour some water at the water pitcher’s brin and then disperse it so that you remove any persisting carbon dust. You must repeat this step at least two times. Also, before you decide to stop, ensure that you are only seeing clean and carbon-free water.
Note: The process of reassembling may vary from brand to brand. For certain Brita water pitcher brands, you may need to conduct a few extra steps of putting your water pitcher back.
You can also watch this video to better understand how to clean a Brita water filter…
Some Additional Tips
If you can see crevices or hedges in some parts, this implies that it may be difficult to clean them. To reach these areas, you must take the help of a fresh toothbrush. We recommend that you keep this toothbrush as a specific tool that you can always use while cleaning your Brita water filter.
In case you find green mold at the pitcher’s bottom, make sure to not make use of bleach. You may witness some damaging effects if you use it. It is advised that you replace your Brita water filter in that case while throwing that old filter away that has green mold.
Many Brita water filters also have electronic indicators that notify you when you need to replace your water filter.
Conclusion
If you have been using the Brita water filter for some time, you would know that it not only provides you with pure water but also gets dirty itself. Cleaning is a priority that you must not skip if you use a water filter.
The good part is that you are not even required to have a proper dishwasher to clean the filter thoroughly. You can deep clean the filter by simply using everything that you can most easily find right inside your house.
Frequently Asked Questions (FAQs)
What does a Brita water filter do?
A Brita water filter works to discard many pollutants that are present inside your water including heavy metals such as cadmium, mercury, copper, and others. It also helps to lessen the unpleasant odor as well as taste that usually comes from tap water. Moreover, it also decreases the amount of chlorine by absorbing it.
How often do you change the Brita Pitcher Filter?
You will need to regularly replace your Brita water filter based on your water source. This will ensure that your water pitcher keeps working with outstanding performance. Moreover, in case the water source comprises hard water, your filter will be required to get replaced more often.
It is advised that you change a standard Brita water filter every couple of months which will deliver you almost 40 gallons of water. In the case of the variant, you should replace it after every 6 months which will deliver almost 120 gallons of water. Note that this data is in terms of standard usage.
How do I clean mildew?
Mildew or mold is not a very desirable thing to grow on the Brita water filter. When left for long, they may result in causing damage to the appearance of the water filter. They may also impact the water quality negatively.
You can easily get rid of mildew by using the usual dish cleaners or soaps. Apart from that, you can also use white vinegar which is a great solution for cleaning mildews.