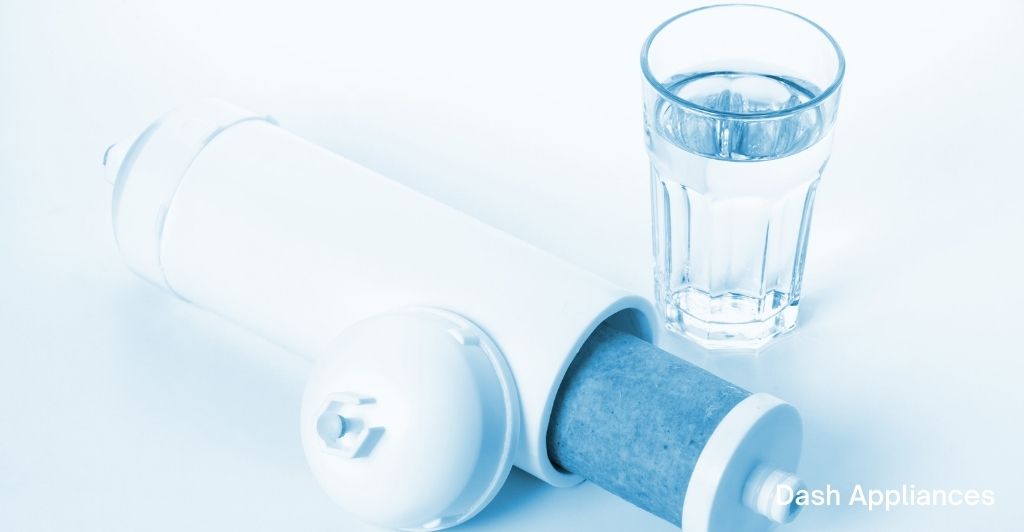
PUR water filters are highly efficient when it comes to having clean drinking water. Every PUR filter is NSF and WOA certified for removing 99% of lead and more than 70 other water pollutants. This includes 92% of pesticides and around 96% mercury. PUR water filter also works to reduce the smell and taste of chlorine in the water.
The best part is that you can quickly and easily install the PUR water filter on your own through a few simple steps.
In this article, we will provide you a step-by-step instruction guide to install PUR water filter cartridge.
In the Box
The good thing about this water filter is that you’ll find everything that you’ll need right in the box. You will find a filter cartridge, filter unit, rubber, and adapters as you’ll open the box.
How to Install PUR Water Filter
Now let’s look at all the steps in detail to install the water filter cartridge.
Step 1
All the standard household sink faucets have a circular tip at the end. You’ll notice that this tip is removable.
To start, unscrew and take off the screen and rubber washer present on the top of your faucet, simply with your hands. In case you face any difficulties in unscrewing it with your hands, you can always choose to loosen it with pliers and then remove it.
Step 2
After this, you’ll need to decide on any of the available adapters that suit best to your faucet. Once you’ve found the perfect fit, place the rubber washer on that adapter and then screw the adapter onto your faucet.
It is important to note that the washer is essential to be included and you’ll need to tighten it properly with your hands to ensure that there are no water leaks.
Step 3
For the next step, you’ll need to unscrew the top of the filter unit. Get rid of the plastic wrapping on the filter cartridge and take it out of the box. Now, put the cartridge carefully into the filter unit.
You will find the PUR logo imprinted on the outside of the filter unit. Make sure that it matches up with the ‘front’ arrow that you will see on the filter cartridge. You must screw the top on tightly and completely.
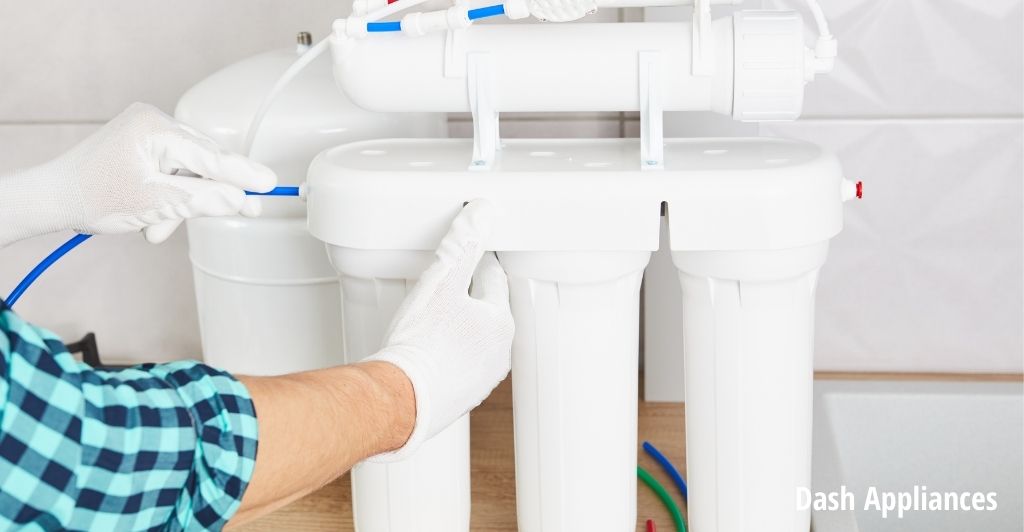
Step 4
Next, install the filter unit onto the adapter that you just attached to the faucet. You can do this simply by pushing it in. Once you’re done, you will hear the sound of a click that will confirm success.
You can also watch this video to see how to install PUR faucet filtration system…
Using the PUR Water Filter
You’ll find a black lever that is present on the filter’s side. If it is flat, note that the filter is NOT in use. To get filtered water, simply turn this lever down.
Before you begin to use your filter for the very first time, make sure that you run it through cold water for a good 5 minutes. This will flush out any kind of water pollutants present. To notify you of the filter status, a green light will flash six times. This means that the filter is working properly.
After this, once you turn your faucet on, your filter will be ready for your use and provide you clean water.
When to Use Filtered and Unfiltered Water
Since turning the filter on and off is made easy with the help of its black lever, it is also important to know when you should keep it flat and when to turn it down.
Filtered water (Coldwater) must be used for the following purposes:
- Drinking purposes
- Making coffee
- In juices
- Baby formula
- Cooking food
- Washing vegetables and fruits
- Brushing your kid’s teeth
- Water bowls of your pets
You should use unfiltered water for the following:
- Washing hands
- Washing clothes
- Washing utensils
- Cleaning kitchen countertops
- Mopping the floor
- Showers and baths (Both people and the pets)
- Brushing an adult’s teeth
Changing the Filter
As you may already know, your job doesn’t end with installing the filter after you purchase it. Over time, pollutants start to build up in the filters, and they start to become less effective. Depending on the kind of system you’re using, you’ll need to replace or clean the PUR water filter every time.
You may be wondering how you will get to know when it is the right time to change the filter. Well, PUR has made it easy. To guarantee that your filter is providing you clean drinking water, the PUR filtration system features an in-built sensor.
This indicates the status of your filter with three different flashing lights. Every time you will use your filter, you will see a light flashing on the outside six times.
Let’s learn about each light:
- Green: A green light will imply that your filter is in good shape and working properly.
- Yellow: A yellow light means that your filter is currently working fine, however, it needs to be changed anytime soon.
- Red: If you see a red light. it means that it is time to replace the filter. You’ll have to get a fresh filter cartridge and replace it the same way you first installed it.
Removing the Filter
When you need to replace the filter, you’ll have to remove the old one first. To do so, you’ll see that there is a quick-release button present there. On every side of your filter’s adapter, you’ll find tiny white-colored buttons. Your filter unit would pop out as you’ll push all of these buttons together at the same time.
Conclusion
This wraps up our instruction guide for installing the PUR water filter cartridge. The process is quick, simple, and doesn’t require much effort on your end. Install it properly and have your water, healthy and clean with PUR water filtration systems.
Frequently Asked Questions (FAQs)
For how long will I be able to use the filter before replacing it?
Your filter will provide you around 1600 glasses of water before you’ll need to replace it. In other words, it will work properly for a good 3 months giving you clean and healthy drinking water.
Why is the water sputtering and seems cloudy after installing the cartridge?
Once you’ve installed the PUR water filter cartridge, you’ll be required to flush it for a good 5 minutes. You may see cloudy water or hear the noise of water moving air through the cartridge and this is only normal. It will end as soon as your filtration system is completely flushed.
Will the filter work with any water temperature?
No. Running water with a temperature higher than 38°C or 100°F may result in damages to the water filter.