PUR offers a range of water filtering products, but as pollutants build up in the filters, their efficiency starts to come down. Depending on the filtration system that you’re using, you’ll need to replace PUR water filter differently.
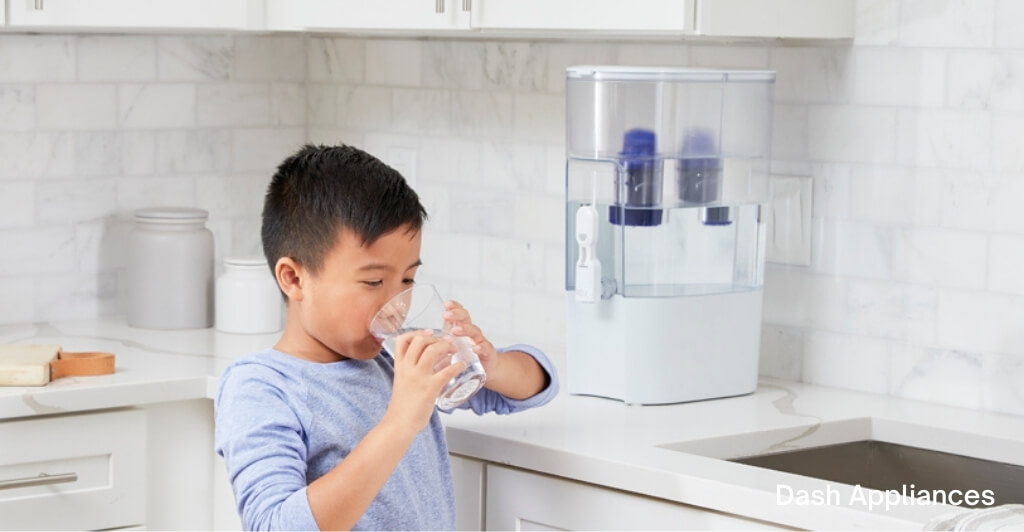
Before you screw it in, make sure to clean the new PUR filter into a dispenser or pitcher that you keep in your refrigerator. You can easily remove the former filter and substitute it with the new one for the systems that go on to connect to the faucet. You’ll get to access pure and healthy drinking water for the next few months once you’re done.
Why is it Important to Learn How to Replace PUR’s Water Filter?
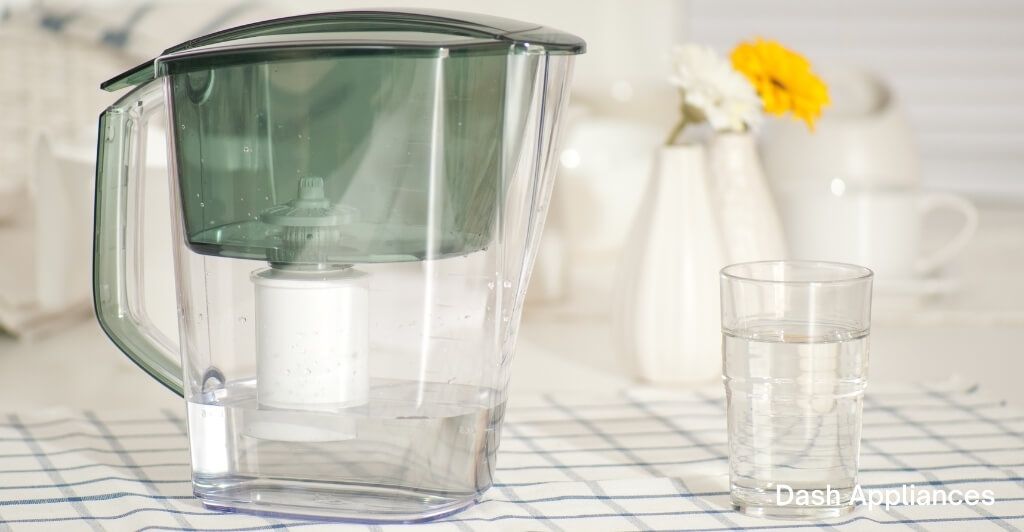
You should be able to replace the filter pitcher on your own. It is essential to change the pitcher’s water filter as it is a crucial part of the product’s lifecycle.
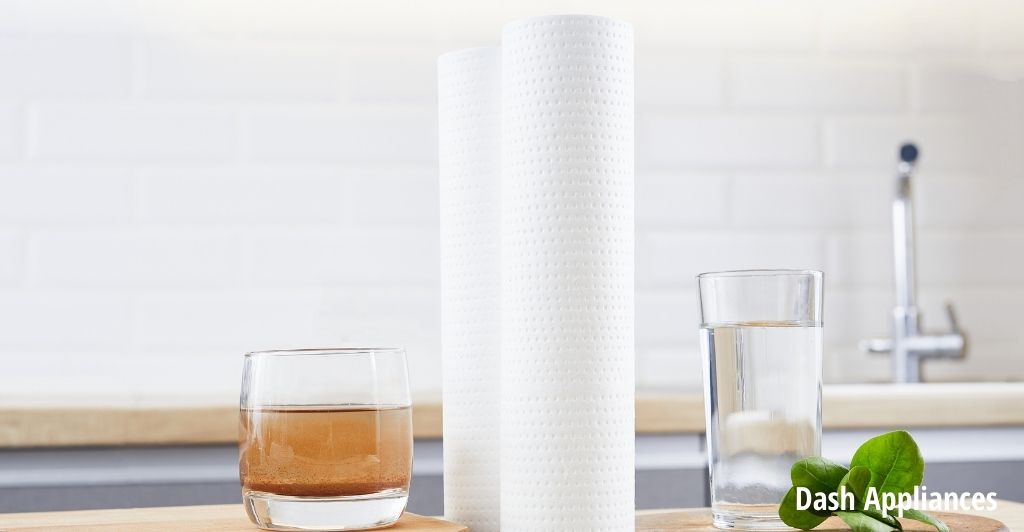
The reason behind this is obvious. The sediments collected by the filters grow in proportion to the amount of filtered water. You’ll be required to substitute the old filters with the new ones when they fail to accumulate any additional residues, for say, lead.
As a result, this whole process of changing the filter is likely to occur frequently. You’ll want your pitcher to be working to their full potential. Hence, a normal filter pitcher will provide as much as 1600 glasses of water, after that the filters need to be replaced.
The best part is that it only takes a few simple steps to change the filters and hence, you can easily do it on your own.
Method 1: Replace the Dispenser or the Pitcher Filter
Step 1.
Let the new filter be soaked for a good 15 minutes in any container with cold water. Put this new filter in a container that is clean and sufficiently deep to submerge the filter fully. After filling cold water in the container, set it aside for 15 minutes. Any residual carbon left from the filter will rise and isolate at this point, ensuring that it does not end up in your water while drinking.
When you soak the filter, the water will flow at an even rate when you will use the filter.
Using water with a temperature higher than 30°C or 86°F can cause harm to the filter.
Step 2.
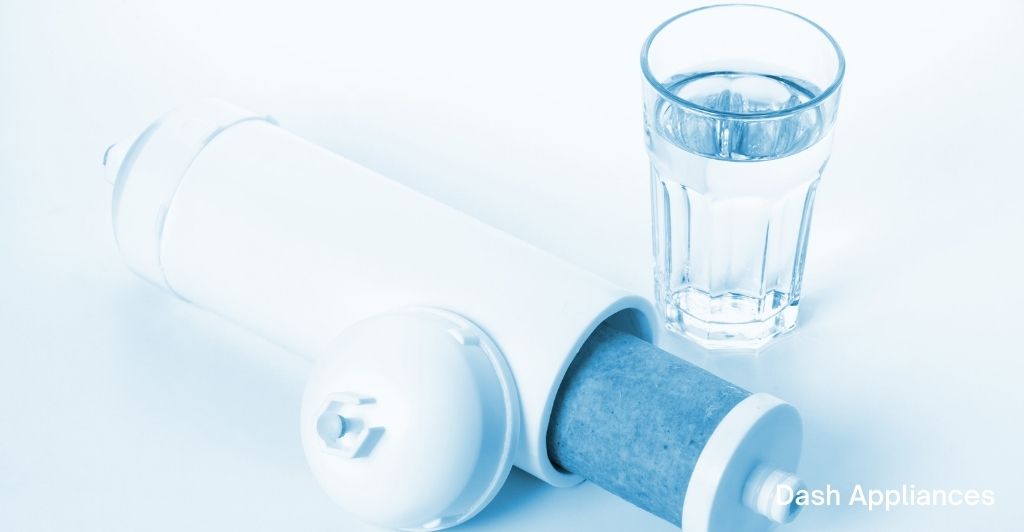
To take out the old filter, rotate it counterclockwise. Remove the dispenser or pitcher lid and put it aside. Then pick up and remove the pour tray. This pour tray is a plastic reservoir of blue color.
To unhook the cylindrical filter, grab it from its bottom and twist it counterclockwise. Remove the old filter by pulling it by the tip of the pour tray.
If you change the filter before the pour tray is clear, it can be hard to take off or you can spill.
Step 3.
Wash out the fresh filter for a minimum of 10 seconds under the tap. When the filter has soaked properly, remove it from the pot and put it underneath your tap. Let cold water run through it and twist the filter to fully clean it. Turn the tap off after 10-15 seconds and then shake out the remaining waste in the filter, if any.
Step 4.
If you are using hot water to clean the filter, you risk damaging it.
To keep the filter protected, twist it into the pour tray in a clockwise direction. Push the lengthy, cylindrical portion of the filter down as far as it will go from the hole in the center of the pour tray.
Screw the filter in the clockwise direction until you hear it fit into position while holding it by the rim. To ensure that the filter never pops out of the pour tray, slightly press on its end. Before you replace the lid, remember to put the pour tray into the dispenser or the pitcher back again.
In case the filter ever pops out, this means that you didn’t do the job properly. Insert it again and turn it clockwise once more.
Step 5.
If your dispenser has a reset button, press it and hold it for around 5 seconds. Sensors in some modern models of filter pitchers by PUR easily detect when the filter needs to be replaced. Click the Reset button and hold it down for around 5 seconds instantly after replacing the filter. When the sensor has reset, you will notice a blinking green light on the lid.
An electronic monitor may not be available on older pitchers.
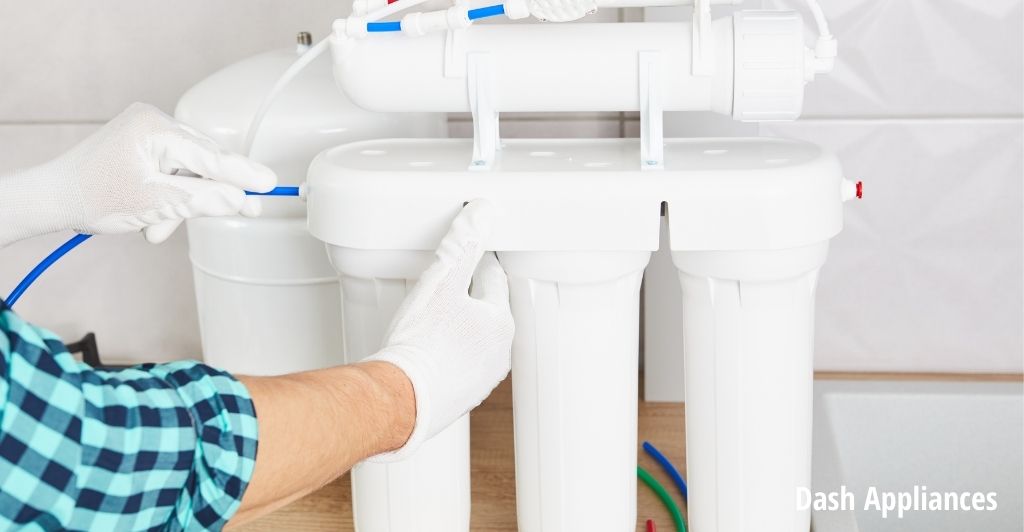
Method 2: Replace the Faucet Filter
Step 1.
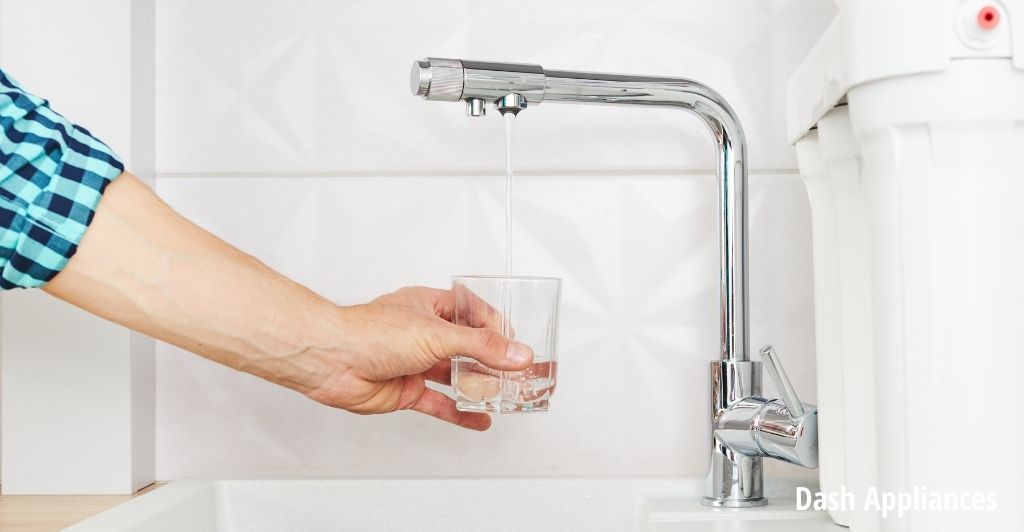
Remove the water filtration system from the faucet by unscrewing it. Hold the system’s weight with the help of your other hand to prevent it from falling and breaking. To loosen the filtration system from the faucet, turn the plastic nut counterclockwise. After completely unscrewing the system, carefully push it away from the tap and put it on the kitchen counter or towel.
When you are conducting this process, water is likely to spill out of the faucet.
Some PUR’s water filtration system models are designed to hook to the faucet. Grab it directly from the faucet if it won’t unscrew.
Step 2.
To take out the old filter, open the system’s top cover by twisting it. Keep the filtration system in such a way that the cylinder’s spherical end is facing up. Rotate the top of the cylinder counterclockwise to remove it, then put this top cover aside. Remove the old filter from the filtration system and dispose of it in the garbage.
The top cover is always placed on the opposite end of the water spout.
Step 3.
Place the new filter right inside the filtration system and secure the lid. Remember to keep in mind that the filter’s narrower end is positioned on the bottom and the mark is facing up. Position the filter in the system with a little room left. Place the top lid back and protect it with a screw over the filter.
Step 4.
Attach your filtration system back to the faucet again. Grip the system against the faucet’s bottom. This will ensure that the threadings are faultlessly horizontal; otherwise, the seal would be compromised. Tighten the locking nut on the faucet by rotating it clockwise until it feels hand-tight. Switch on the tap and at the seam, check for any leaks or drips.
Line up the filtration system with the faucet and put in strong pressure to snap it on if it doesn’t screw on.
Step 5.
Let the cold water run through the system for a good 5 minutes. To rotate the water inside the filter, twist the handle towards the right end of the system. Let the water pass through the system to remove any residue and improve its performance. After this, you can instantly use your filter after switching it on.
You can watch this video to learn how to replace PUR faucet water filter...
Conclusion
These were two different methods to replace Pur water filter horizontals that are simple to learn and use.
Changing the filter is a vital step you should never miss out on. Try these methods at your home to get rid of the accumulated contaminants in your filter and drink clean water again.
You can also read our guide on how to install PUR water filter to learn about the installation process.
Frequently Asked Questions (FAQs)
What’s the appropriate water temperature to use in the pitcher?
It is advised to not use water that’s more than 28°C or 82°F in the pitcher as it may result in damaging the filter. Through the faucet, the temperature must not be over 38°C or 100°F.
How would I know when to change the filter?
Most of the water filtration systems that the company provides feature electronic lights. These help to detect the right time for changing the filter. When it blinks a green light, there’s no need to change the filter yet. But if you see a red or yellow light, that is when you need to replace it.
Will the filter remove bacteria?
No, the filter doesn’t remove any kind of infection or bacteria. This is why you must only use water that is already safe and clean to drink.