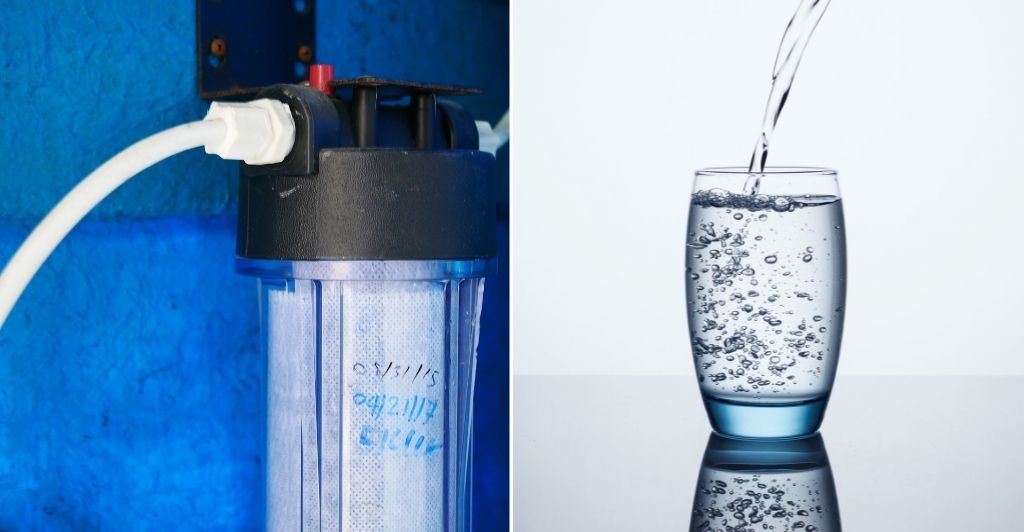
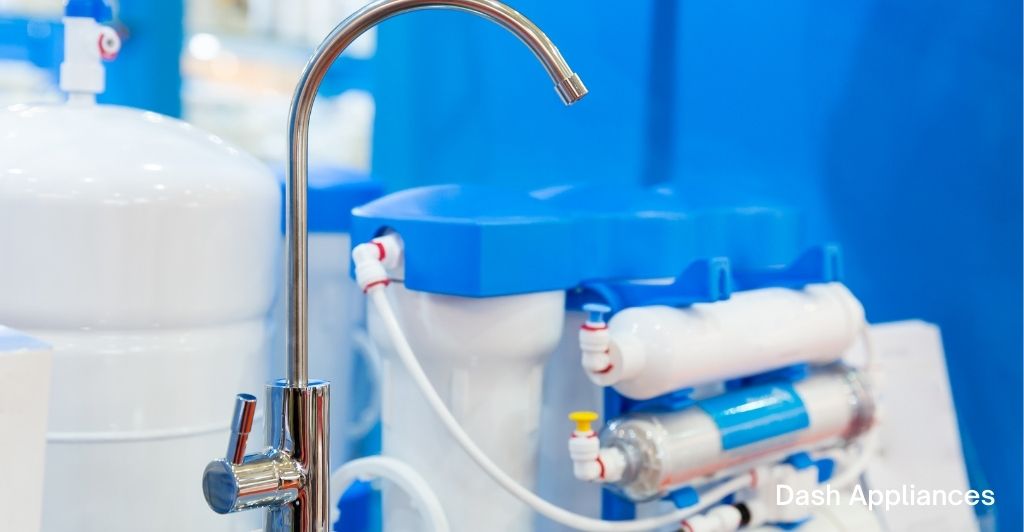
There are a number of ways in which you can filter water for drinking purposes at home. The Reverse Osmosis Water Filter System is the best out of them. It is easy to use and the maintenance of the system is simple as well.
If you are looking for a cost-effective and durable mode of water filtration for yourself and your family, you can choose this without a doubt. The installation process of an RO water filtration system is convenient and can be done without any professional help.
Read on to find out what you will need to install a reverse osmosis water filter system and follow the steps very carefully.
What You Will Need
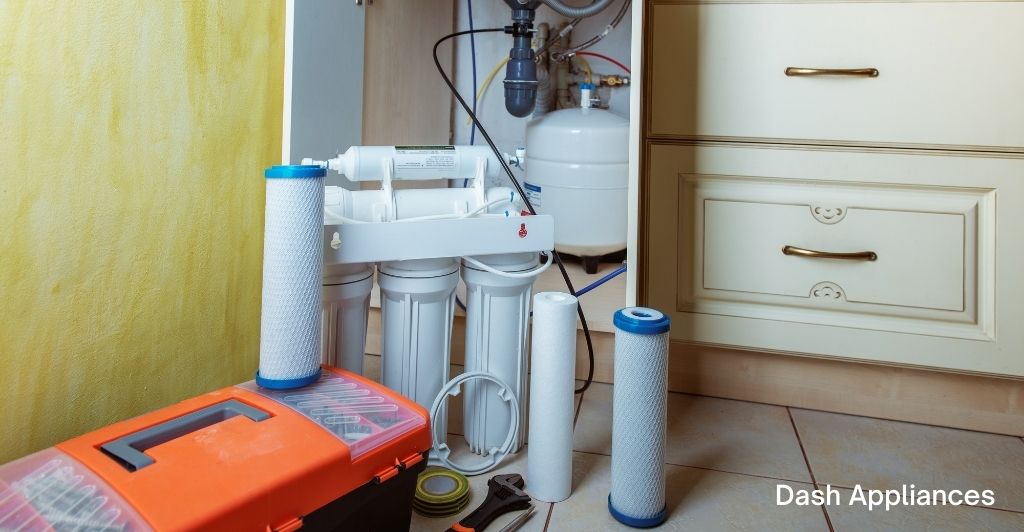
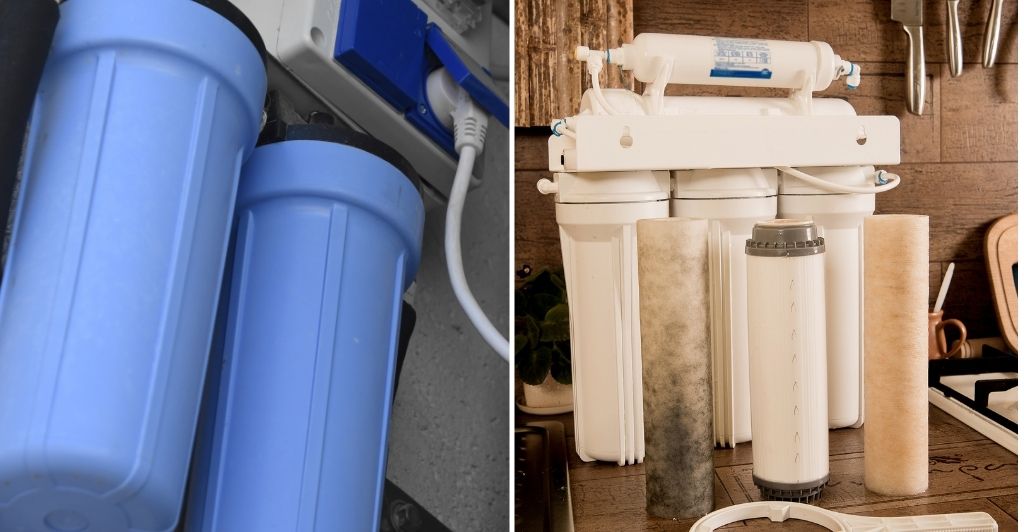
When you purchase a Reverse Osmosis water filtration system, you will be provided with the basic equipment that will help you to get on with the process. Apart from that, you will also require some tools of your own to assist you in the process.
The items that you will require are listed below…
- Screwdrivers
- Tape Measure
- An adjustable wrench
- A level
- A Hacksaw
- Plumber’s tape
- Channel-lock pliers
Apart from this, you will have the kit provided by the company which has produced the water filter which is the main set of equipment that you will require.
How to Install a Reverse Osmosis Water Filter System?
Installing a RO Filter system is easy but it has to be done strategically to avoid any problem that might arise post the procedure and which may hamper the proper functioning of the machine.
Follow the steps given below very closely, so as not to miss out on important parts which might put you in a soup and cause obstruction.
Step 1 – Planning
The first step is to plan the whole procedure. Make sure you have all the equipment that you will be needing for the process at your disposal.
Clean the area under the sink and make space for the installation of the filtration tanks because it will need a lot of space. The best thing to do is to keep a check on these things before you make the purchase. Measure the space before selecting what water filter to buy.
Step 2 – Setting Up The RO System
Open the package that has come with the system. Go through the guide and know for sure which unit is supposed to be used and in what way. Double-check the measurements of the filters that are supposed to be installed under the sink.
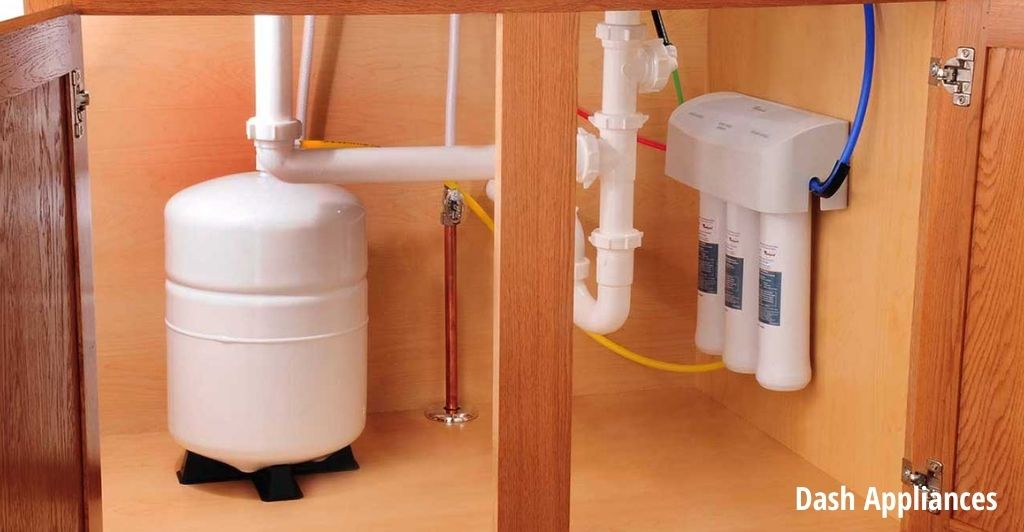
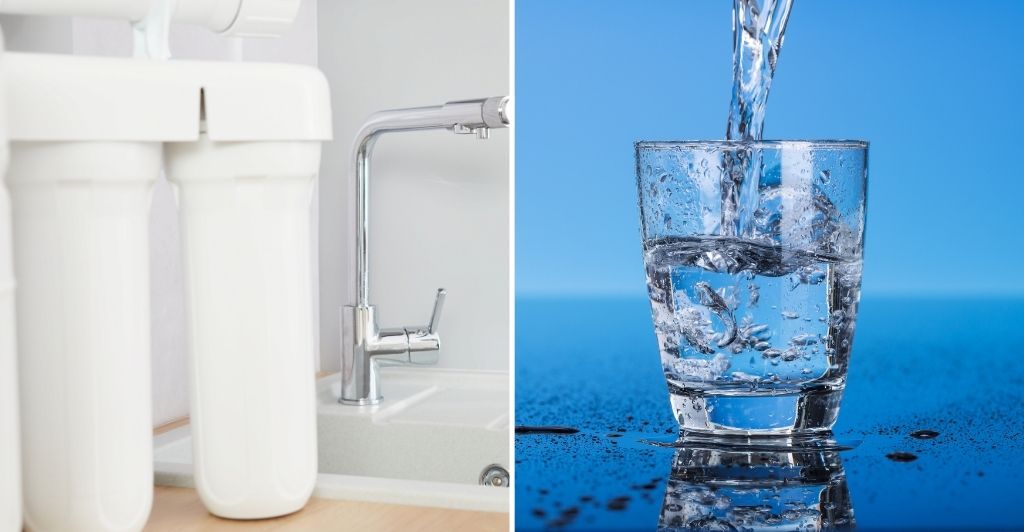
In most cases, the unit is placed under the kitchen sink for maximum utility. But if you don’t find enough space to fit them under the sink, you have to look for alternative spaces such as a garage from which the unit will be connected to the kitchen.
Step 3 – Installation Of The Sink Spigot
It is the best to install the sink spigot first. This will ensure that you can get this simple step done before and do not confuse it with the business that will carry on under the sink afterwards.
You will need to fit the RO system spigot on the kitchen countertop. This has to be done using the hardware that has been provided to you in the package. After you are done with that you have to put the waterline down into the opening while connecting the air gap.
Step 4 – The Tank
The next step is to find a position for the tank and fix it in. The RO sink will be placed under the sink so make sure the space is empty. The installation of the tank connector is crucial before the placement of the sink.
After you have done that you need to connect the spigot to the tank. In this step, you will need to use the plumber’s pipe seal tape. Once you are done, you can place the tank below the kitchen sink and fix it in.
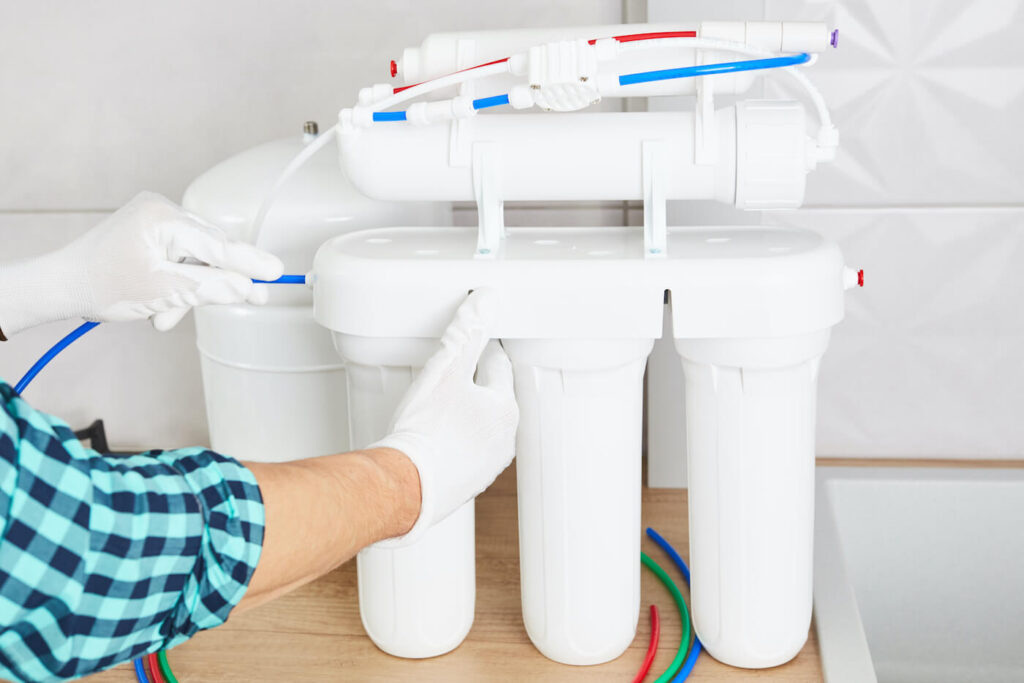
Step 5 – Hanger Washers
This step entails you to mark the positions for the filter mounting. Measure the area and make sure that the filtration units fit in perfectly. Make sure that they are fixed perfectly into the wall under the sink. For this, you should use a level to ensure that they are fixed properly. The hanger washers need to be screwed to the wall and the units must be hanged from them. This step will require patience and precision.
Step 6 – The Water Line
Now that you have fixed the units, you have to make sure that it receives a perfect supply of water. Connect the water lines carefully. The pipe that brings in the tap water needs to be fixed to the filter assembly. In some cases, you might need an adapter to accommodate the transfer of water into the water filter tube.
Step 7 – Connect The Other Tube
Connect the tube that will carry the filtered water to the system installed above the sink. Carefulness is recommended so that you don’t confuse between the various tubings.
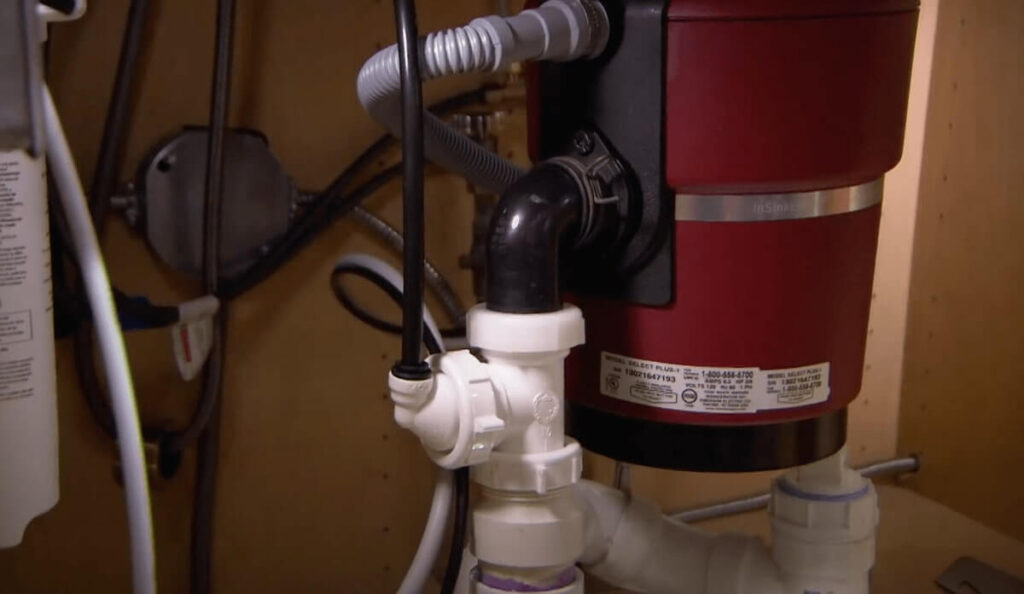
Step 8 – Connect The Draining System
After you are done with all the connections you have to connect the system to the drain from which the residue water will escape.
Step 9 – Pressure Test
Once you are done installing all the parts of the system, you must do a pressure test. This will reveal if you have done your job correctly. If the pressure feels out of place it will hamper the filtration procedure. Make sure to correct anything wrong that has occurred during the process.
Note: You can also watch this video to see how to install a reverse osmosis water filter system…
Conclusion
Now that you have got the idea of the things that you will require and the way you need to proceed to install a Reverse Osmosis Water Filtration System, we hope you will get on with it perfectly fine.
Keep in mind that before you start off with the whole process you should be well-equipped with all the technical aspects and trouble-shooting for any conflict that might arise.
The RO filtration system ensures maximum safety for yourself, your family and your pets as well. Once you install it, you won’t have to worry about anything else. You can sit back and enjoy clean drinking water without any hassle or added pressure.
Related Posts
Reverse Osmosis vs Distilled Water: In-depth Analysis
Reverse Osmosis Vs Whole House Filtration Systems
Difference Between Reverse Osmosis Vs Deionized Water Filters
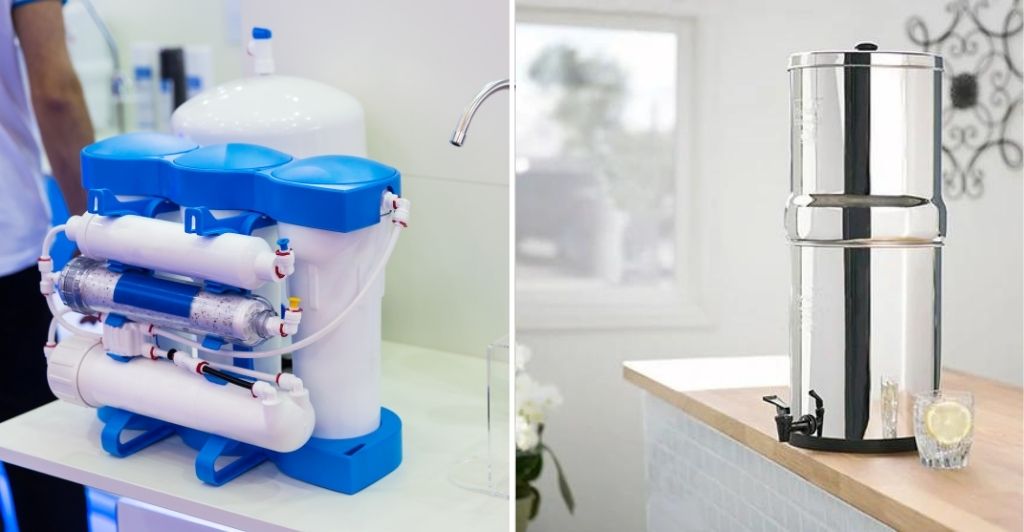
Reverse Osmosis vs Berkey (Gravity) Water Filter Comparison
Reverse Osmosis Vs Carbon Filter: Which is Better?
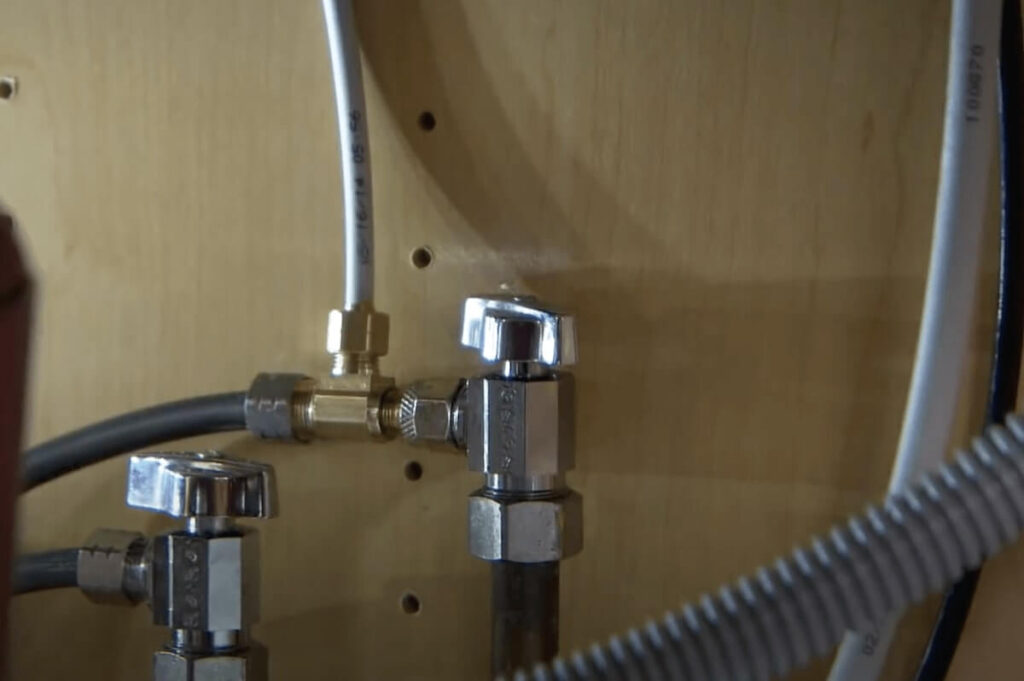
If you haven’t purchased a RO system yet, think about the space under the sink that is available for the device, including its tank and filters. Take note of the space’s measurements so you can use them as a guide when purchasing your reverse osmosis system.
Which water supply will be employed? The majority of RO systems have a tee connection that connects to the normal faucet’s 1/2-inch water supply line. You must purchase an adapter tee for the shut-off valve in order to supply water to the filter because the remaining parts have a 3/8-inch flex line that descends from the faucet.